Welding defects are, unfortunately, more common than you might think. They can arise from a variety of factors, such as improper techniques, poor quality materials, or adverse environmental conditions. The frequency of these defects depends on the experience of the welder, the equipment used, and the project specifications.
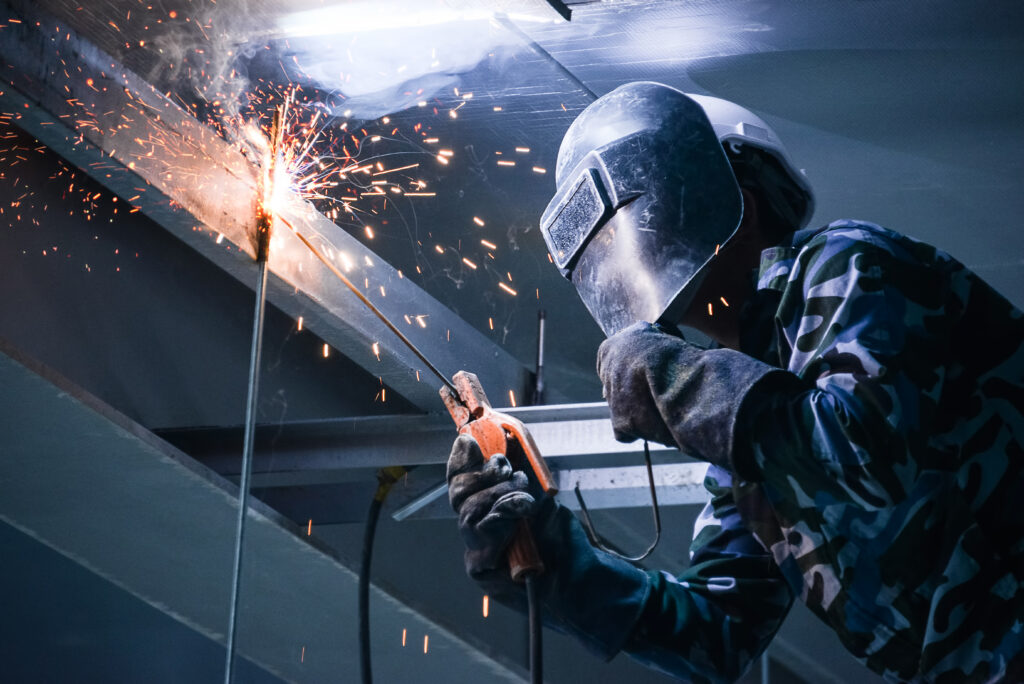
During the process of welding there could be irregularities due to incorrect techniques, or a misalignment with the position of the workpiece in relation to the welder, which can also compromise the quality of the weld. When an irregularity or discontinuity does not meet or exceed the approval standard, it becomes a defect. In this article, we will explore some of the most common welding defects and delve into the reasons behind their occurrence, along with practical solutions to mitigate them.
What is a Welding Defect?
A welding defect is an imperfection or irregularity in a welded joint that deviates from the desired quality or specifications. These defects can compromise the integrity, strength, and functionality of the weld, potentially leading to structural failures or reduced performance of the welded component.
Welding defects can take various forms, such as cracks, porosity, and more. These issues can arise due to a range of factors including incorrect welding parameters, inadequate preparation of materials, poor quality control, or environmental factors. But even the most skilled welders encounter defects from time to time.
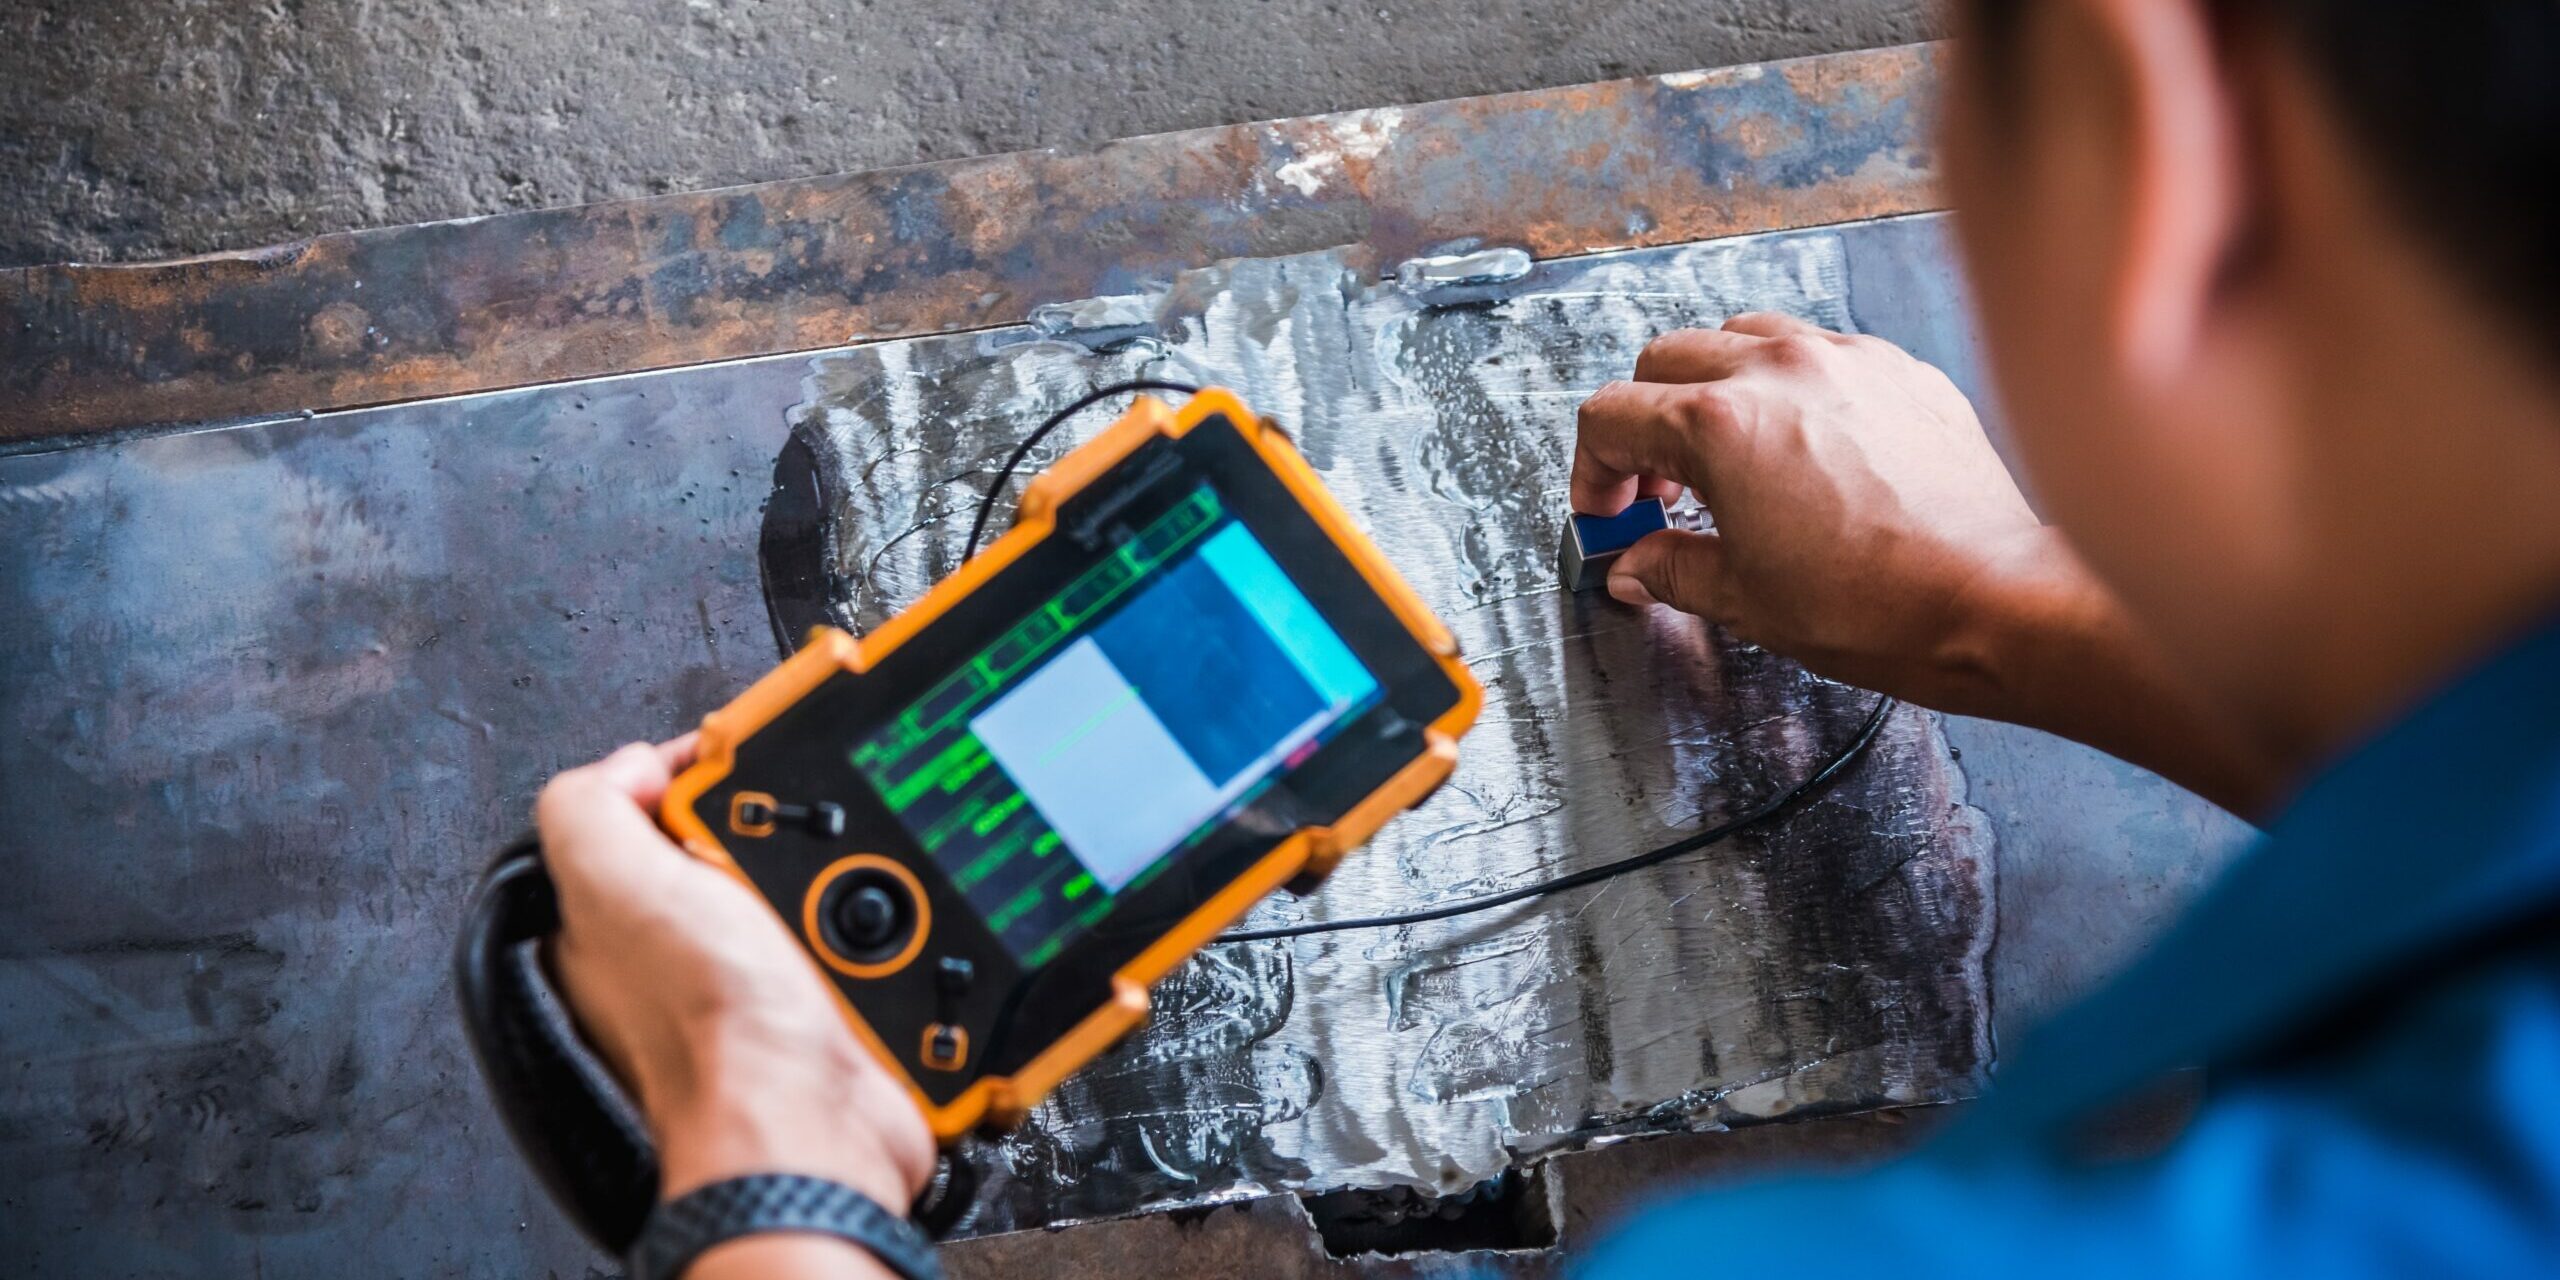
Detecting and addressing welding defects, their root causes, and effective remedies is crucial to ensure the reliability and safety of welded structures or components. This is often done through visual inspection, non-destructive testing methods, and corrective actions such as re-welding, grinding, or heat treatment.
Types of Welding Defects
Primarily, it is good to know the categorization of defects. According to the area of the weld, defects can be external or internal. Related to their size, shape, and orientation, they can be classified as volumetric or planar.
From ornate gates and railings to intricately crafted jewelry and sculptures, forge welding has enabled the realization of intricate designs and decorative motifs, enriching cultural heritage and aesthetic sensibilities. As an example, throughout history blacksmiths and artisans have employed forge welding techniques to create functional objects of beauty and artistic expression.
External welding defects
These irregularities are produced on the surface of the weldment; they can be recognized by visual inspection or other non-destructive methods.
- Undercut. It is an external flaw characterized by a groove or depression along the weld toe, which reduces the thickness of the base metal, and the result is a weak workpiece. It can be caused by a lack of a good temperature during the crystallization of the joint, or not applying the good travel speed. On the other hand, an Overlap occurres when the weld is expanded beyond te weld toe.
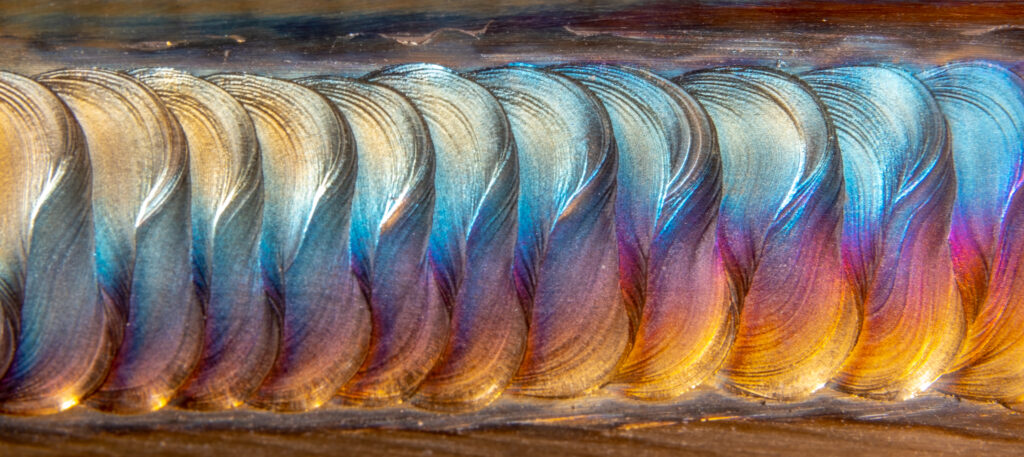
- Excessive reinforcement. It is an excess of material deposited in the final passes. This flaw may result from an extreme current, excessively slow travel speeds, and improper joint fit-up. Depending on the standards, it is considered over-thickness if it is greater than 3 mm (usually within an accepted range of 1 to 3 mm).
- Excessive spatter. It can be described as the droplets of weld metal expelled during welding that stick to the surrounding metal.
Internal welding defects
Discontinuities placed inside of the weldment; they cannot be found by visual inspection. Moreover, to recognize this irregularity, many kinds of non-destructive methods are not useful as well.
- Internal Cracks. It is produced when a very high tension is applied when a part is punched, generating an internal tension in the metal, which remains once the material has cooled and produces cracks. These cracks are hidden inside the weld joint and are often detected only through non-destructive testing methods such as X-ray or ultrasonic testing. They can be longitudinal, transverse, or crater cracks. These cracks can propagate through the material, compromising its strength.
- Incomplete penetration. It is a type of lack of fusion that occurs when it occurs in the penetration or root cord. The weld metal does not penetrate completely into the joint thickness (no full penetration).
Volumetric welding defects
Volumetric defects are three-dimensional flaws that occur within the weld metal or the heat-affected zone (HAZ). This means that they occur within the weld joint and affect its volume or interior structure.
- Porosity. This flaw is produced when gas bubbles become trapped within the weld metal during solidification. It affects the weld by reducing its cross-sectional area and might be scattered throughout the weld or localized. Moreover, it is a type of defect that can occur internally or externally, being visible on the surface of the weld or requiring nondestructive inspection procedures to locate them, respectively. The gas pockets are not visible on the surface of the weld but can weaken its integrity.
- Slag inclusion. These are non-metallic solid materials trapped within the weld metal. Slag inclusions are often the result of not using the appropriate weld technique, which prevents the slag from floating to the surface of the weld pool to be removed.
Planar welding defects
Planar welding defects are imperfections that occur along the surface or a single plane of a welded joint. These defects are typically two-dimensional, and they are significant because they can compromise the structural integrity of the weld, leading to potential failure under tension.
- Lack of fusion. It is a discontinuity in the weld, in which there is no mixing of the base material and the filler material, which can be in intermediate layers of the weld and cause incomplete penetration.
- Under-fill. It is a longitudinal continuous or intermittent area in the surface of a weld that sits below the level of the surrounding parent metal, resulting from inadequate deposition of weld metal. This defect is externally visible and can be identified through visual inspection. Factors such as high welding travel speed and excessive heat inputs are common causes of under-fill.
|
Categorization of Welding Defects |
|||
|
AREA |
SHAPE |
||
| External Defect | Internal Defect | Volumetric Defect |
Planar Defect |
| Excessive reinforcement | Cracks | Slag inclusion | Lack of fusion |
| Porosity | Porosity | Porosity | Under-fill |
| Undercut | Incomplete penetration | Overlap | Incomplete penetration |
| Spatter | Cracks | ||
These classifications are important for welders and inspectors to understand, as they determine the methods used to detect and address the defects. Remedies for these defects may be the use of convenient materials, removing impurities, using a convenient electrode angle, or preheat properly the weld as required, and applying an appropriate travel speed during the process.
|
Examples of remedies for welding defects |
|
| Undercut |
|
| Porosity |
|
| Incomplete fusion |
|
| Weld crack |
|
Harnessing Augmented Reality technology
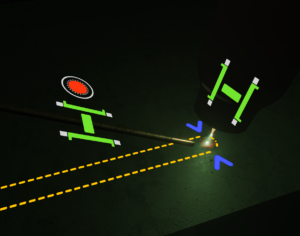
Do you know that Soldamatic can enable guides during the practice? This AR welding simulator analyzes your movements during the exercise, giving instant feedback and making it more instructive. The welder can watch in real-time if the angle, travel speed or voltage values are not the convenient, because there are red signs during the simulation. On the other hand, the guides will appear in green if the practice is correct.
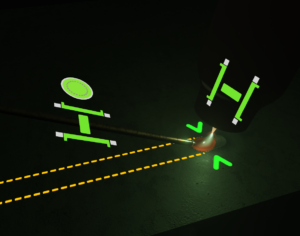
Furthermore, muscle memory can be improved without any waste of raw materials such as carbon steel, aluminum, or stainless steel. Ensuring proper welding techniques and avoiding the common welding mistakes is also essential for raw materials control. The Augmented Reality technology presents a highly positive approach to mitigating these costs.
This revolutionary solution has been developed for welders by welders and offers numerous benefits in welding training and skill development. Soldamatic offers different training programs certified by known welding associations according to your specific needs. In our Case Studies section you can check the industrial companies and vocational schools that are already applying the Augmented Methodology.
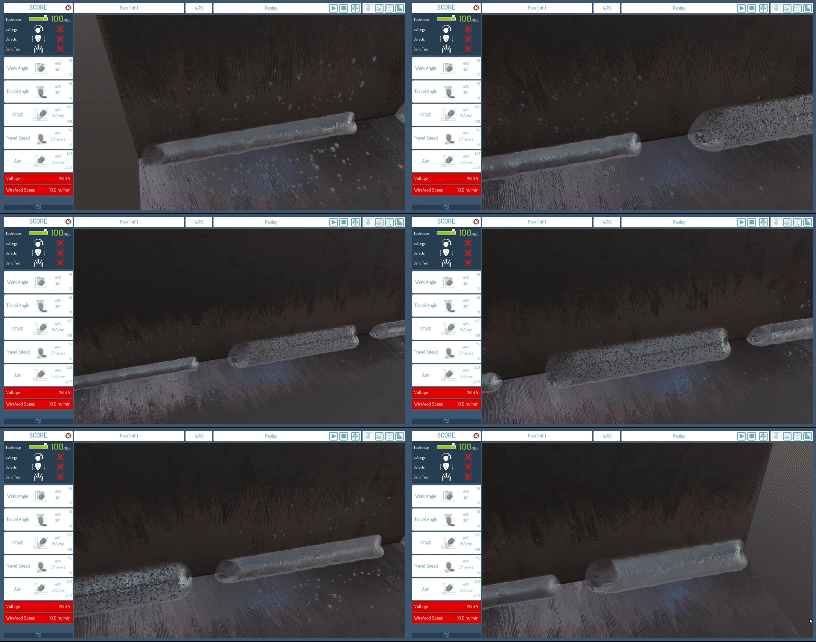
You can also create your own exercise to evaluate the welders’ skills. For example, Soldamatic e-learning allows you to generate a WPS with wrong values from the beginning. In this way, if they start the weld bead, the simulation itself shows the defects during the performance. They are also able to analyze the welding bead on the analysis module that appears right after the practice.
34%
more certified welders than traditional methodology
56%
decrease of real time in learning
68%
decrease of laboratory costs
84%
less accidents
A transformative approach to mitigating Welding Defects
Welding accidents occur when precautions are neglected. Internal defects often require more advanced inspection techniques, such as ultrasonic testing or radiography, while external defects can often be identified through visual inspection. Remedies for these defects may be removing impurities, using a convenient electrode angle, or applying an appropriate travel speed during the process. By understanding the root causes of these common welding defects and implementing effective remedies, welders can enhance the quality, strength, and reliability of their welds.
Continuous training, adherence to welding best practices, and attention to detail are essential for minimizing defects and achieving superior weld quality in various industrial applications. AR systems empower welders to perform with greater precision and efficiency; while promotes safety, productivity, and cost-effectiveness. Soldamatic is the solution to emphasize best practices and error prevention.


